
How to Prepare Your Garage for Epoxy Garage Floor Installation
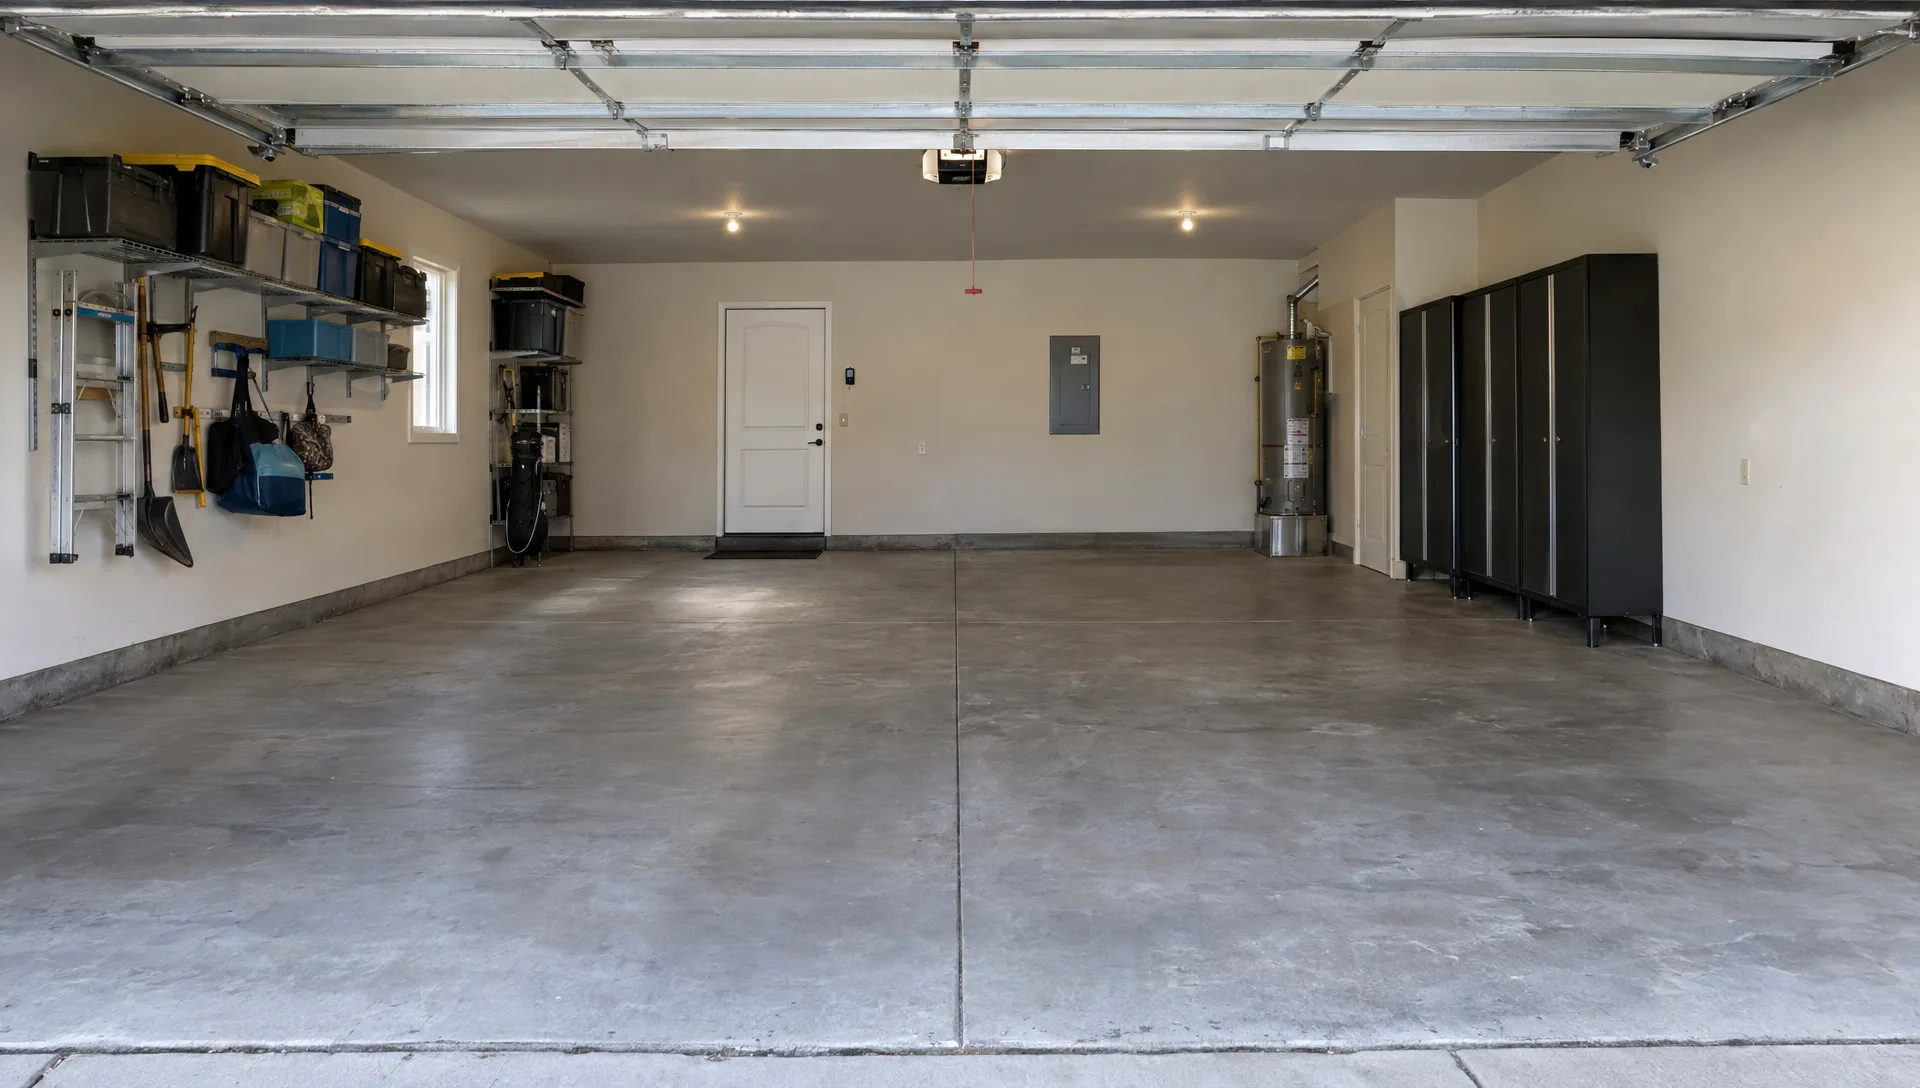
Preparing for epoxy garage floor installation is mostly about clearing the space, arranging temporary storage and understanding when you can use the garage again. You do not need to grind the concrete or repair cracks yourself. Those decisions belong to the installer, who needs to assess the slab and prepare it for the selected coating system.
For San Diego homeowners, the most useful preparation is a simple timeline: confirm the project scope first, clear the garage before installation day and keep vehicles and belongings off the new floor until your contractor approves their return.
Confirm the project scope before you start moving
Ask your installer which areas need to be empty, what assistance is available and how long the garage will be unavailable. Get these details before renting storage or moving a refrigerator.
Also confirm the coating system. Homeowners often use “epoxy” as a general term for garage floor coatings, but epoxy, polyurea and polyaspartic products have different application requirements and return-to-service schedules. If you are comparing materials, understanding why San Diego homeowners choose polyaspartic floors can help you frame questions for your installer.
Before scheduling epoxy garage floor installation, confirm your responsibilities for clearing the space and the contractor’s responsibilities for surface preparation.
Bay City Coatings offers a garage item moving service. Ask how that service applies to your belongings, particularly heavy equipment, appliances and anything attached to the building. Do not assume every item can be moved on installation morning.
Choose your decorative flake color before the appointment, too. A settled scope and color selection leave fewer decisions for the day the crew arrives.
About a week before: clear and organize the garage
Remove everything that rests on the floor
Start with vehicles, then work through boxes, freestanding shelves, tools, bicycles and exercise equipment. Emptying shelving first makes it easier and safer to move.
The goal before epoxy garage floor installation is to give the crew unobstructed access to every area included in the quote. Ask whether wall-mounted storage can remain and whether hanging items need protection or temporary removal.
Do not guess about fixed cabinets or workbenches. The installer should explain whether the coating will extend beneath them, stop at their edges or require their removal. Resolve this before clearing day, especially if a cabinet is anchored to the slab.
Use this opportunity to separate items you will keep from items you can donate, recycle or dispose of. Deal with old paint, solvents and automotive fluids through an appropriate local household hazardous waste program rather than putting them in ordinary trash.
Set up temporary storage that stays accessible
Choose a secure, dry location for displaced belongings. A driveway may work briefly in suitable weather, but it leaves tools and boxes exposed to theft, irrigation and unexpected rain. Avoid blocking sidewalks, exits or the crew’s route to the garage.
Group belongings by where they will go afterward. Label boxes on the sides so you can identify them without unstacking everything. Keep frequently needed items, such as pet supplies and chargers, separate from long-term storage.
For fabric gear bags that will remain part of your storage setup, custom woven labels from HiLabels are an optional way to identify categories such as camping equipment or sports gear. Temporary boxes only need straightforward tape labels.
Make a separate plan for appliances and heavy items
An appliance-moving plan keeps epoxy garage floor installation from being delayed by last-minute lifting or utility questions. Refrigerators, freezers, safes and large tool chests deserve their own arrangements.
If a refrigerator or freezer must move, plan food storage and follow the appliance manufacturer’s transport and restart instructions. Use a suitable electrical connection in its temporary location rather than improvising with an unsuitable extension cord.
Do not disconnect gas appliances, move water heaters or relocate equipment with plumbing connections yourself. Discuss fixed equipment with the installer and use a qualified professional if utility work is necessary.
For heavy items, arrange suitable moving equipment or professional help. Confirm whether your installer’s moving service covers the item before relying on it.
One or two days before: clean lightly and flag concerns
Remove loose dirt without soaking the slab
Once the garage is empty, sweep or vacuum loose debris. Pick up screws, nails and other small objects that could interfere with equipment or cause injuries.
You generally do not need to deep-clean the concrete before a professional crew arrives unless the installer requests it. Avoid pressure washing, flooding the floor or applying cleaners just before the appointment. Added water and chemical residues can complicate preparation.
If there is an active oil spill, contain it safely and tell the contractor what spilled and where. Do not spread it across the floor with a wet mop. Let the crew recommend treatment for persistent contamination.
Photograph stains, cracks and damp areas
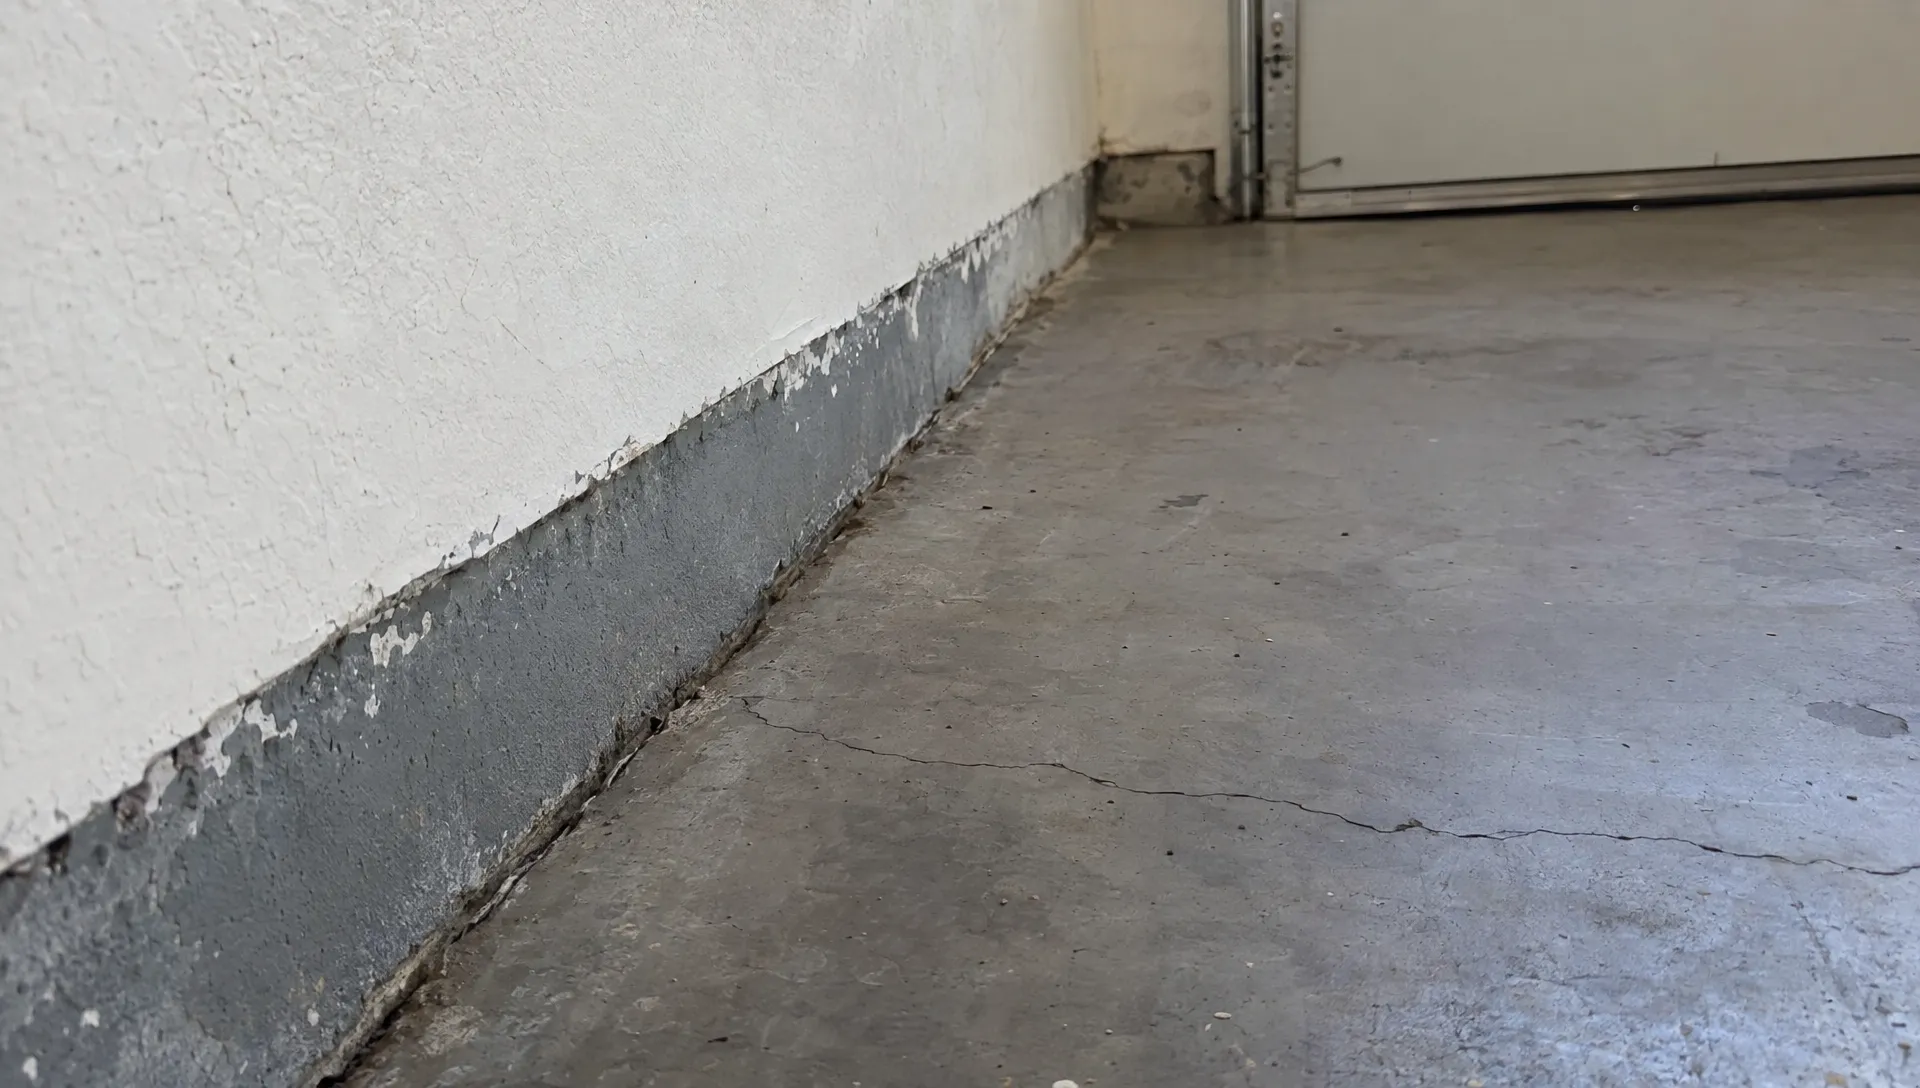
An empty garage makes it easier to spot issues previously hidden beneath shelves or parked vehicles. Take photos of cracks, crumbling edges, old paint, oil stains and areas that become damp after rain.
Reliable epoxy garage floor installation depends on the condition of the concrete, not just how clean it looks. Report recurring moisture, plumbing leaks or water entering beneath the garage door before work begins.
A dry-looking surface does not establish that the slab is suitable for coating. Ask how the installer evaluates moisture and whether testing or additional investigation is needed. Our guide to why moisture testing matters before floor installation explains that issue in more detail.
Also identify existing coatings or sealers if you know what was applied. An old product label, receipt or installation record may help the contractor assess removal requirements.
Leave technical preparation to the epoxy garage floor installation crew
Homeowner preparation and concrete surface preparation are different jobs. Clearing belongings helps the crew work, but achieving the right surface profile requires suitable equipment and a preparation method matched to the coating system.
Do not acid-etch the slab, rent a grinder or apply a concrete sealer beforehand unless your contractor specifically directs you to do so. These steps can create additional work or introduce materials that must be removed.
Likewise, avoid filling cracks with a general-purpose household filler. The appropriate repair depends on the crack, the condition of the concrete and the coating system. Let the installer evaluate it first.
Concrete grinding can generate respirable crystalline silica, a hazard addressed in OSHA’s guidance on crystalline silica. Ask the contractor about dust controls and keep household members away from the work area. Do not enter to inspect progress while grinding or coating is underway.
Installation day: provide access and keep the work area separate
Park vehicles outside the garage before the crew arrives. Leave enough room for unloading equipment and accessing the driveway without moving your car repeatedly.
On the morning of epoxy garage floor installation, confirm that the crew can reach the agreed electrical outlets and that cords or equipment will not obstruct household exits. Ask beforehand about any other access requirements.
Keep children and pets out of the garage and away from the crew’s equipment. Tell the installer if the garage connects directly to living space, contains combustion appliances or serves as your usual entrance to the house. Follow the contractor’s instructions for ventilation and household access rather than setting up fans yourself.
Let the crew control the garage door during work. Door position may affect access, airflow and debris exposure. Keep nearby yard work, irrigation and leaf blowing away from the installation area.
Before the crew leaves, get the return-to-service instructions in writing. You should know when walking, moving belongings and parking are permitted.
After installation: plan around cure time, not crew departure
A one-day installation describes how long the work may take. It does not automatically mean the floor is ready for every type of use that evening.
The waiting periods after epoxy garage floor installation depend on the products used and site conditions. Bay City Coatings completes most installations in one day, but your project’s instructions should determine when you resume foot traffic, return storage and park vehicles.
Ask for separate guidance on light foot traffic, heavy belongings and vehicle traffic. Temperature and other conditions can affect the schedule, so do not substitute a general online timeline for the installer’s directions.
When you receive clearance, bring belongings back carefully. Carry items where practical and avoid dragging sharp feet or loaded shelving across the surface. Ask about suitable protection under equipment that creates concentrated loads.
Keep spills, washing and other wet activities off the new surface until permitted. Save the care instructions and product information where you can find them later. If you notice an unexpected surface issue, photograph it and contact the installer before attempting a repair.
A final pre-installation checklist
Use this checklist the evening before your appointment. It focuses on household logistics rather than work the coating crew should perform.
| Preparation task | What to confirm |
|---|---|
| Clear the floor | Vehicles, boxes and movable items are out of the quoted area |
| Resolve fixed items | Cabinets, appliances and anchored equipment have an agreed plan |
| Arrange storage | Belongings are secure, dry and outside access routes |
| Report slab concerns | The installer knows about moisture, stains and visible damage |
| Provide access | Parking, entry and electrical access are ready |
| Protect the household | Children, pets and normal household traffic can avoid the work area |
| Plan the return | You know where vehicles and belongings will stay during curing |
Frequently asked questions
Do I need to empty the entire garage? All areas being coated need the access your installer specifies. Confirm exceptions for fixed cabinets, water heaters and wall-mounted storage before moving day. Do not assume the crew can work around loose belongings.
How early should I prepare for epoxy garage floor installation? Start organizing about a week ahead if the garage contains substantial storage. Aim to finish clearing before the scheduled arrival time, with appliance moves and temporary parking already arranged. Your contractor may give a different schedule based on the moving services included.
Should I repair cracks or remove the old coating myself? Not unless the installer asks you to. Existing coatings and cracks need assessment, and an unsuitable repair material can create more preparation work.
Can I park in the garage the same day? Only if the installer explicitly approves vehicle traffic for your coating system and conditions. Completion of the installation is not the same as clearance to drive on the floor.
What if I cannot move everything myself? Ask about moving assistance before booking. Bay City Coatings offers a garage item moving service, but you should confirm arrangements for heavy, attached or utility-connected items.
Get a preparation plan for your garage
Bay City Coatings serves homeowners throughout San Diego County from its Chula Vista base. Its all-inclusive pricing is $8 per square foot, including surface preparation, decorative flakes and a durable topcoat.
Request a free quote from Bay City Coatings or call 619-363-1055. During the quote, confirm your coating system, moving-service needs and return-to-service schedule so you know exactly what to prepare before installation day.
Ready for Your Free Quote?